Motto: “If you buy a quality product, you don’t need to replace it every 35 years.”
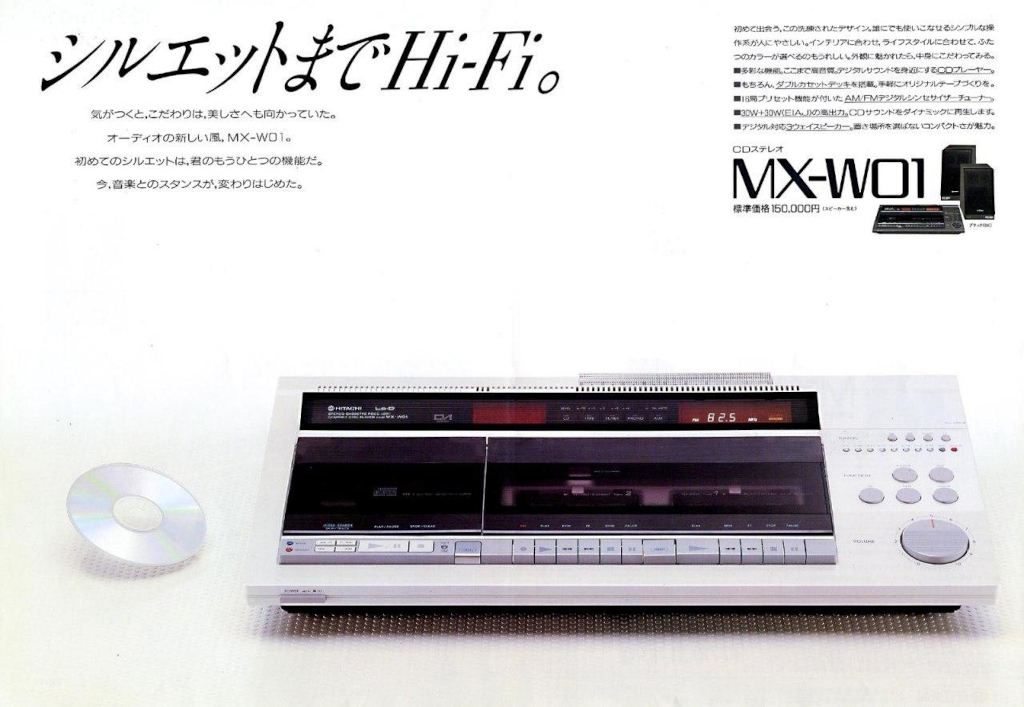
I bought the Hitachi MX-W01 CD Slimline System in 1986, that is, 35 years ago. It was my first proper stereo system, and so far, the only one… I used the receiver/player itself from the 80’s up to about 2011, when I put it in storage. However, the original speakers weren’t up to my standards neither by the look nor the sound quality; after an year of use I sold them to my younger stepbrother and replaced them with a pair of KEF C55 speakers. I wish I still had those, they were very good for 80’s speakers.
Back when I finally stopped using the Hitachi, it had three major issues:
- The radio station memory system was practically dead, it lost all stations after just 2-3 hours of power-off. When new, the stations stayed in the memory for almost two weeks without the device being powered up.
- There was an intermittent bad connection somewhere; I had to occasionally slam the deck to make the CD-player to wake up.
- For the last ~10 years of use it was situated so that before noon the sun was able to shine on it at full force, so it started gradually turning yellow.
A few weeks ago I decided to try to refurbish/resurrect the dear old Hitachi. Here’s how it went:
- There’s no battery in the radio memory system, but instead a large (2200 µF 6.3v) electrolytic capacitor combined with a diode, thus giving the radio circuit enough power to keep its memory working when the rest of the device is powered down. That capacitor’s electrolyte had obviously dried out during the 25 years of use. The capacitor replacement was easy enough, the original was replaced with a physically equal sized, but electrically larger 3300 µF 10v capacitor.
(Note: The radio stations’ ‘stay-in-memory’-time is still not very long, just a few days; I suppose there’s some minor leakage current somewhere. Maybe I should have replaced the diode, too?)

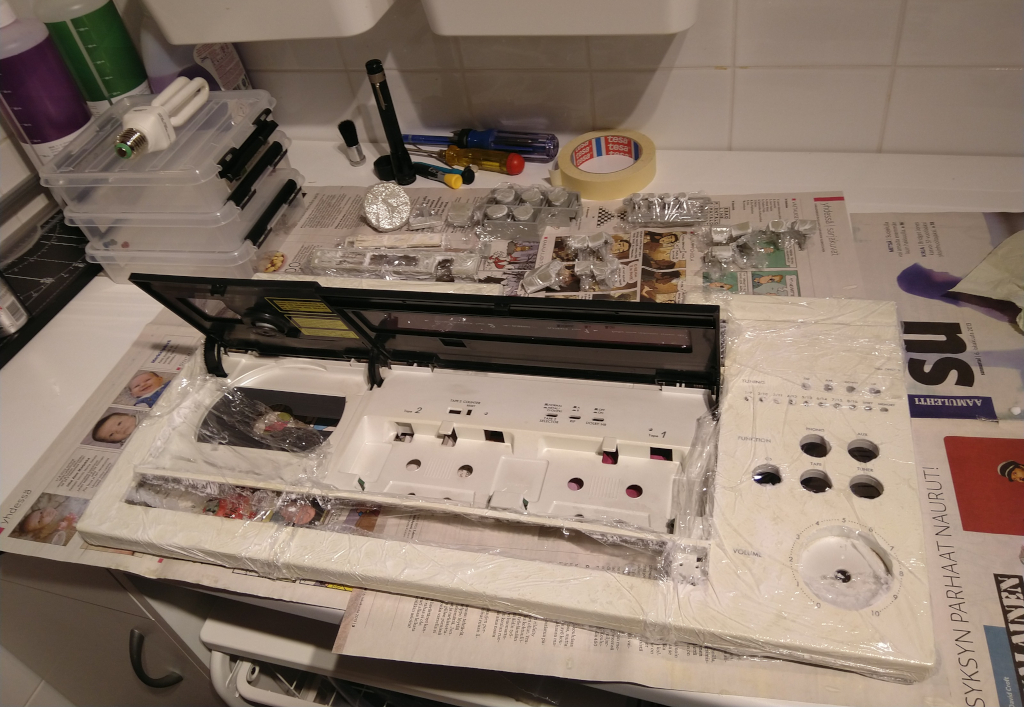
The memory capacitor is the big black cylinder in the middle.
- The bad connection issue fixed itself while I removed and refitted the radio/display board for capacitor replacement. Also, all the other switches & connectors I could reach without dismantling the device completely were disconnected/reconnected and cleaned out with PRF Contact Cleaner.
- The plastic covers/housings and other parts of most electronic devices made since the 60’s are usually made of ABS plastic. In pure form ABS burns quite easily, which is bad news safety-wise. For that reason a flame-retardant chemical (bromide or equivalent) is being added to the plastic… but that chemically-treated plastic has a nasty habit of turning yellow-brown over time when exposed to ultraviolet radiation from the sun.
So much sickly yellow on these dismantled MX-W01 parts… Not nice.
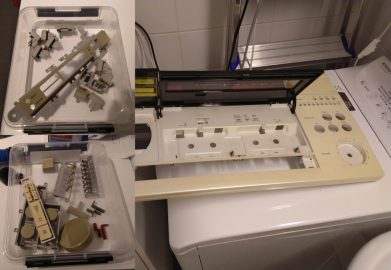
Fortunately, at some point someone noticed that hydrogen peroxide (H₂O₂) has the power of reversing the yellowing process. That phenomenon has been utilized in the famous “retr0bright” process, However, I didn’t feel like sourcing and mixing the chemicals myself, so I used the second best option from a local supermarket: a hair color removing product “Garnier Nutrisse Truly Blond – Bleach Maximum Lightener L+++“, which of course also contains hydrogen peroxide. Other similar products may work equally well. If you have a choice, choose the strongest possible “blonding” agent.Now I’ll give the usage instructions of that “blonding” agent: Disassemble every part you are going to bleach (especially remember to remove every metal part, hydrogen peroxide will damage them). Clean the parts thoroghly with normal cleaning methods to remove grease etc. and then let dry. Refer to the package instructions of mixing the blonding agent paste. Apply the paste to the part with a brush to create an even ~1mm layer and IMMEDIATELY wrap it in a piece of plastic wrap film to prevent the paste from drying. Repeat with every part. Work fast because the hydrogen peroxide keeps evaporating from the paste. When all parts are wrapped up check that the paste is evenly spread under the film and fix if necessary. Leave them to be for 24 hours, if possible under a constantly burning plant lamp or a fluorescent lamp. (It may seem counter-productive, but in this case a little UV light helps hydrogen peroxide to do its job.) After the parts are ready remove the film and wash the parts in warm water. Let dry and reassemble. You’re done…
MX-W01 parts under wraps… literally.

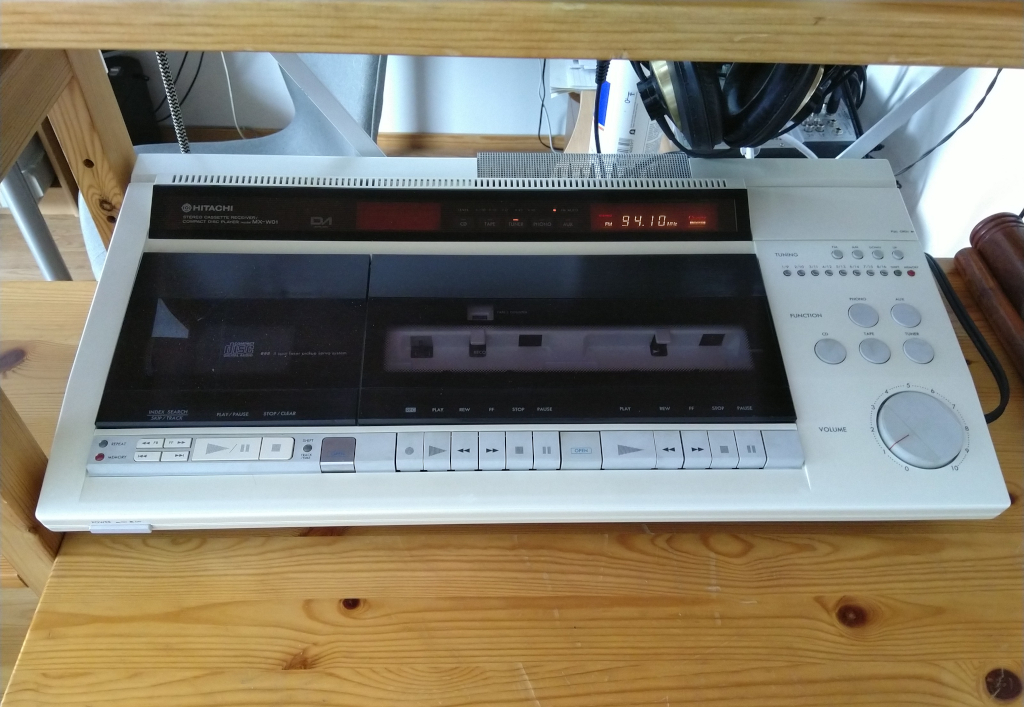
With the MX-W01 parts the abovementioned process worked almost perfectly. The white body was completely back to its original, slightly pearl-white shade. In some of the grey parts they were still very slight darker areas, but you need to know where to look to notice them in the finished product. Maybe the paste layer wasn’t even enough, or the time of 18 hours I used wasn’t long enough… Cannot say for sure.Here’s the Hitachi MX-W01 in all its glory looking like a new deck, instead of a 35 year old! And everything is working, including the radio station memory and that wonderfully bright and clear VFD (vacuum fluorescent) display. It is a shame that manufacturers stopped using VFDs after the 80’s, instead opting for the clumsy and ugly, but cheaper and less power-hungry LCD technology.
The sound goes from the 6.3mm headphone jack via an analog mixer to the Alesis M1 620 active studio monitors.